To help you navigate the confusing shift from classic Rio Grande modules to modern Z-Man big boxes, we’re skipping the dry rulebooks to give you honest, table-tested ratings on every major Carcassonne expansion so you can buy exactly what your game night actually needs.
Carcassonne was the first modern board game my partner, Tobie, introduced me to. He had a decent collection that included a few of the expansions, and it made for a long time of playing game after game, each time with a new expansion added. Needless to say, I didn’t win any of the games that night, but I still enjoyed the game enough to actually fall in love with it.
Fast-forward to 2026, and Carcassonne is now published in English by Z-Man Games instead of Rio Grande Games. We’ve been in the hobby long enough such that our collection consists entirely of Rio Grande Editions, which means we are still hunting most of the mini-expansions that now seem to be bundled with the Z-Man big box collections. It’s a weird time.
But given the long-running legacy of the game, it’s not always easy to figure out which expansions are worth your money or are maybe just nice-to-haves. We’re (mostly) sticking to the full expansions for this roundup, with a few notable mini-expansions that still make a bit of an impact. I thought about making a tier list based on the expansion as a whole, but admittedly each expansion breaks down into at least 2 new mechanics, so I figure it’s better to discuss in a bit more detail what each contributes to the game.
Mini-Expansion: The River
I’m putting this up front, since our base game included the River by default, whereas it was a separate expansion for older editions.
River (Essential) - My favorite way to start any game of Carcassonne, as it seeds the board with a number of interesting features to get things started and feels less daunting than starting with a single tile in the middle of the table.
Inns (Skippable) - Adds a point per segment for completed roads, but reduces points to zero if you don’t complete them
Cathedrals (Polarizing) - Similar to Inns, these add an additional point per segment for a completed city. More often than not, we experience this being used to “kill” large city projects being developed by other players rather than a way to increase points for one of your own cities.
Large Follower (Essential) - A follower that counts as 2 followers, thus really helps more aggressive plays when trying to “take over” a shared feature before it scores. Our tables really enjoy it despite how it leans into head-to-head plays.
6th Player Color & 50/100 point markets (Recommended) - This is also the box that unlocks a sixth player, which the game can decently support, especially with more expansions included.
Traders (Recommended) - Adds a set collection mechanic to the game, as completing a city gives the player who placed the last tile all trade goods icons depicted on the city segments. It actually encourages players to help complete opponent cities just for the goods, even if it means giving points to that opponent.
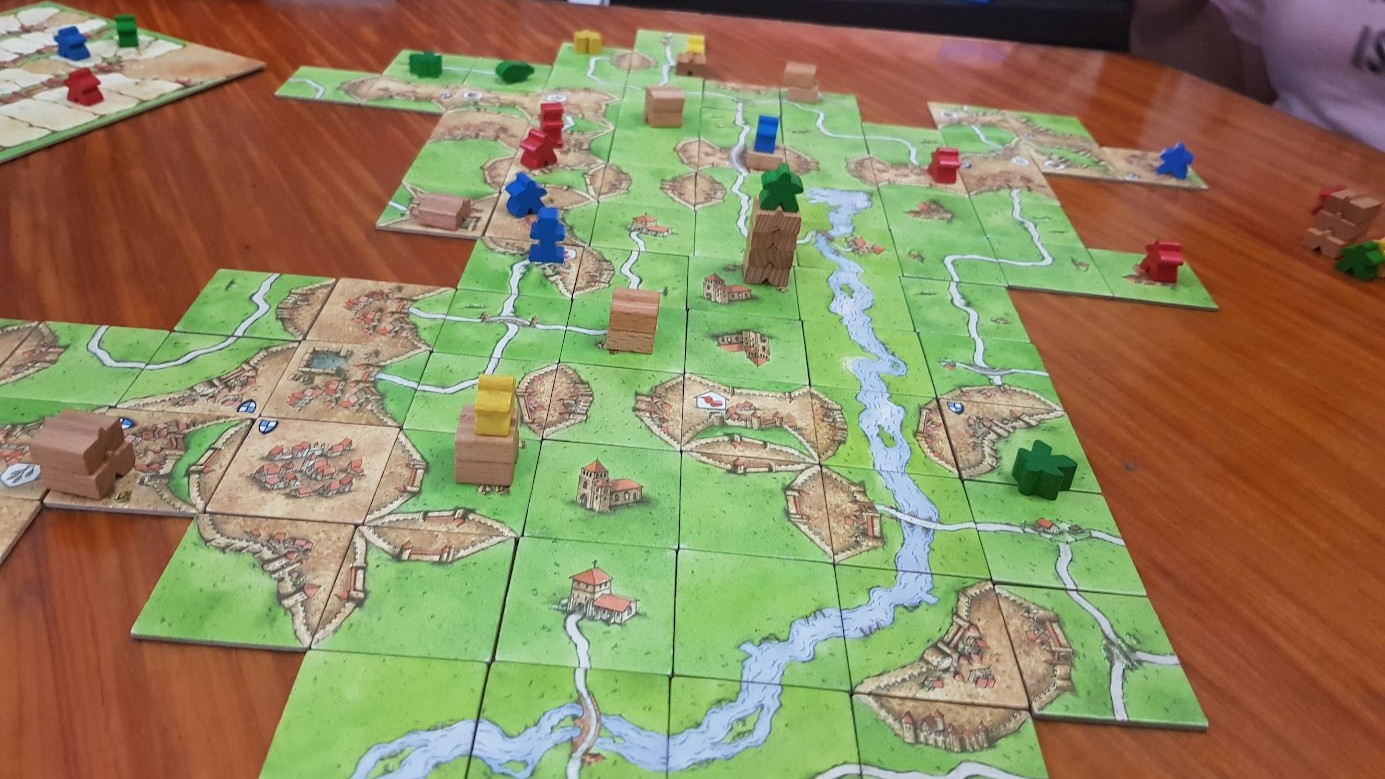
Builders (Essential) - One of my favorite pieces in the game. It really encourages players to take on larger “projects” instead of focusing on scoring smaller features, which makes for a more interesting table experience and a lot of fun at the table.
Pigs (Skippable) - similar to Inns and Cathedrals, it adds a point per city under the scope of a Farm by the end of the game. Rather tricky to place and even harder to keep on the board when you have things like the Dragon in play.
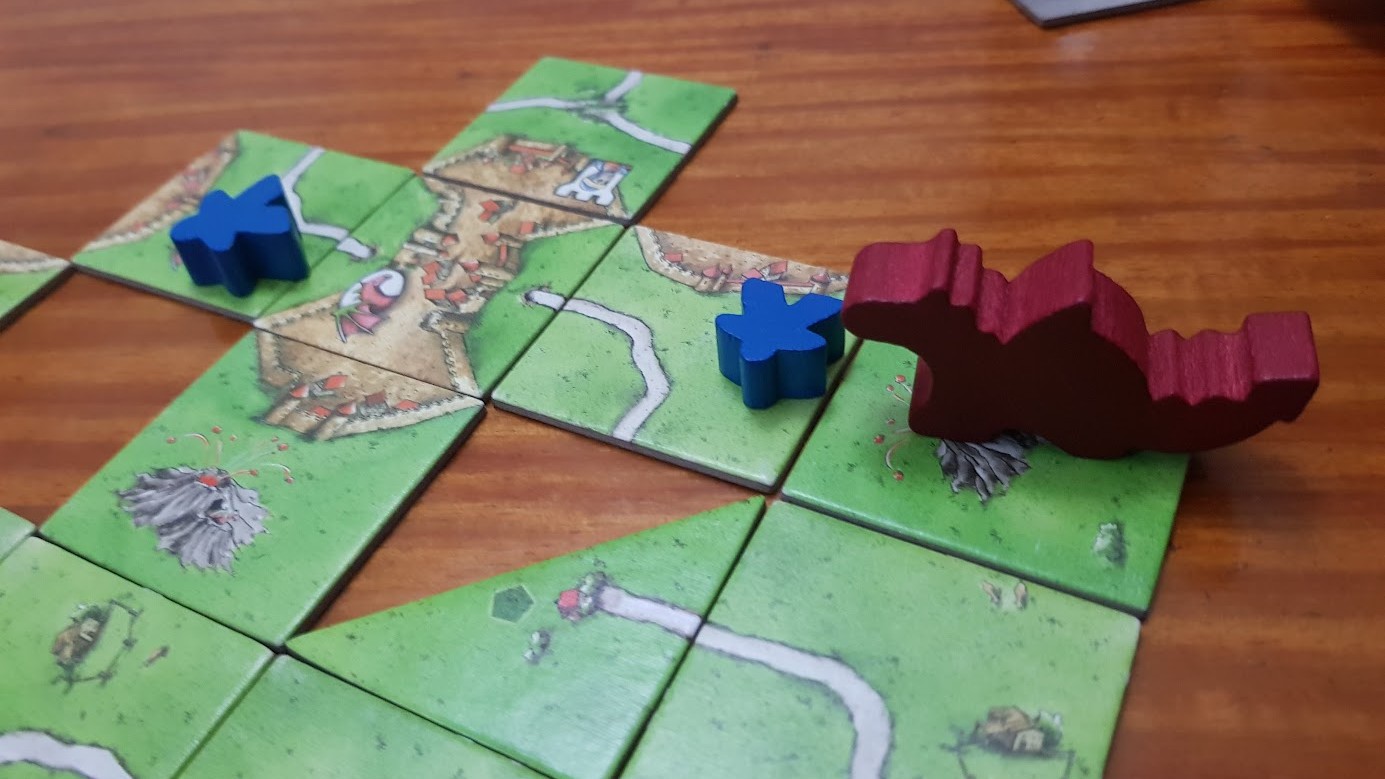
Dragon (Polarizing) - Once a volcano tile is drawn, The Destroyer of Dreams, as we call the Dragon, comes into play. It’s one of the rare ways that Meeples can be removed from the board, thus really messing up Farm control throughout the game. Some of our players love it. Other players hate it, especially since everyone takes turns moving the Dragon every time it’s triggered.
Fairy(Recommended) - Primarily meant to defend a tile from the Dragon, its real benefit is points. You get a point every time you start your turn with the Fairy on one of your tiles (i.e. has your Meeple), and completing a feature with the Fairy present gives you 3 more points. People tend to forget where the Fairy is; thus, players who get to hold onto it rack up a lot of points across longer games.
Princess(Polarizing) - Similar to the Large Follower, the Princess mechanic leans into more aggressive plays since adding it to a City ousts a Knight of your choice. This can lead to cases where a City completes, but no one scores points since the last Knight was ousted out of spite. This is particularly deadly when vying for Trade Goods.
Magic Portal (Skippable) - This is mainly useful after a Dragon attack, and there are empty incomplete features on the map that you want to try to complete for yourself. Otherwise, its utility can be quite limited.
The Tower (Polarizing) - Another aggressive mechanic that allows players to “capture” the Meeples of other players whenever they place a tower segment (provided a Meeple is in range). Once two players have captured at least one Meeple from one another, they’re immediately returned, but it still gets very annoying since everyone needs to get aggressive. Alternatively, a player can pay a 3-point ransom to get the follower back, which is even more annoying. The only way to stop Towers is to place a follower on top of it, which doesn’t score you anything.
Thieves (Skippable) - The Z-Man Games edition has added a new Thieves mechanic, whose only job is to make the Tower less painful. It also gives points to followers on Towers (not called Watchmen), which all feels like too niche a mechanic just to blunt the main point of this expansion.
Tile Tower (Skippable) - Adds a thematic Tower-shaped tile holder/dispenser. Realistically, the bag is a lot more practical to pass around the table.
Expansion 5: Abbey & Mayor
Abbey (Recommended) - Everyone gets an Abbey tile at the start of the game, and it sounds pretty exciting. You can drop it into any empty space fully surrounded by tiles, and it completes any incomplete features waiting for that hole to be filled. In practice, it’s not often you can find a hole like this that REALLY scores you good points.
Mayor (Polarizing) - The Mayor is potentially a Large Follower on steroids, but he only works in Cities, as his strength is based on the number of Pennants in the city. It can be used defensively, but really you’ll see it more as a very large invader waiting to connect his City segment to your incomplete project.
Wagon (Skippable) - The Wagon is great for chaining projects, but intuitively you will lean towards roads because…it’s a wagon. Once a feature completes, it can move to an adjacent incomplete feature, thus starting a new point project right away.
Barn (Polarizing) - Longtime Carcassonne players know that Farm scoring is where the real action can be, and it can make or break games. The Barn adds a higher level of aggression to Farms by immediately causing Farms to be scored and kicking out all Farmers after. In addition, any future Farmers who connect to the Farm with the Barn score only 1 point per City the Farm is connected to. It feels like Skynet has taken over, and the humans have to run away.
Expansion 6: Count, King & Robber
We actually collected the individual mini-expansions separately - this box would have saved us so much time!
River II(Polarizing) - It’s the River’s evil sibling! But it’s only evil because it includes features from later expansions, including a Volcano that immediately triggers the Dragon at the start of your game. It also has an Inn, but who really cares about that when there’s a Dragon on the loose?
King (Skippable) - He’s really a trophy for whoever has built the largest City in the game; thus, he keeps moving around until no larger City can be built.
Robber (Skippable) - He’s like the King, but for the longest Road. Catan much?
The Count of Carcassonne (Recommended) - This one’s a little tricky, as it can be a bit of a consolation prize for players who don’t score points when a feature completes, but it has an aggressive side. You park Followers here when they fail to score points, but they can jump out when the matching feature is about to be scored…unless the Count has been placed in their part of the castle, preventing them from leaving. It’s a good additional layer of challenge for experienced players.
Heretics (Polarizing) - Heretics are the Followers placed on Shrines, which are like rival Cloisters. They score in a similar manner to Cloisters, but once a Shrine is placed beside a Cloister, it becomes a race to see which feature completes first. The winner scores the usual 9 points, and the loser gets nothing.
Expansion 7: Catapult
Catapult (Skippable) - Adds a weird dexterity element to Carcassonne, which never made sense to me. Sure, the different tokens you can hurl with the Catapult do different things, but really? It’s as silly as the Chaos Orb in MTG.
Expansion 8: Bridges, Castles & Bazaars
Bridges (Skippable) - Players start the game with 2-3 bridges, which essentially let you connect two Roads through the tile you just placed that doesn’t have a connecting Road segment. Looks pretty on the board. Is really used for clever Farm manipulation since the Farm continues under the Bridge instead of being blocked by a Road.
Lord of the Castle (Recommended) - He’s like a Fairy in terms of potential bonus points, but a bit trickier to set up since the Castle is placed over a 2-segment City you complete. The Lord then waits for the next adjacent feature to score, even if it’s another player who scores it. It’s a little aggressive in terms of sharing points, but at least you’re not getting ousted from the feature you’re working on.
Bazaar (Skippable) - The Bazaar triggers when a Bazaar tile is played, then suddenly we’re auctioning tiles in exchange for points? Realistically, players tend to forget whose turn it is after particularly heated auctions, so this ends up being more disruptive than its worth.
Expansion 9: Sheep & Shepherds
Hills (Polarizing) - This is another of those mechanics that support more aggressive play. Hill tiles are put on top of a random (unrevealed) tile to stress its height. Any Followers on the Hill break ties for the feature the Follower is part of.
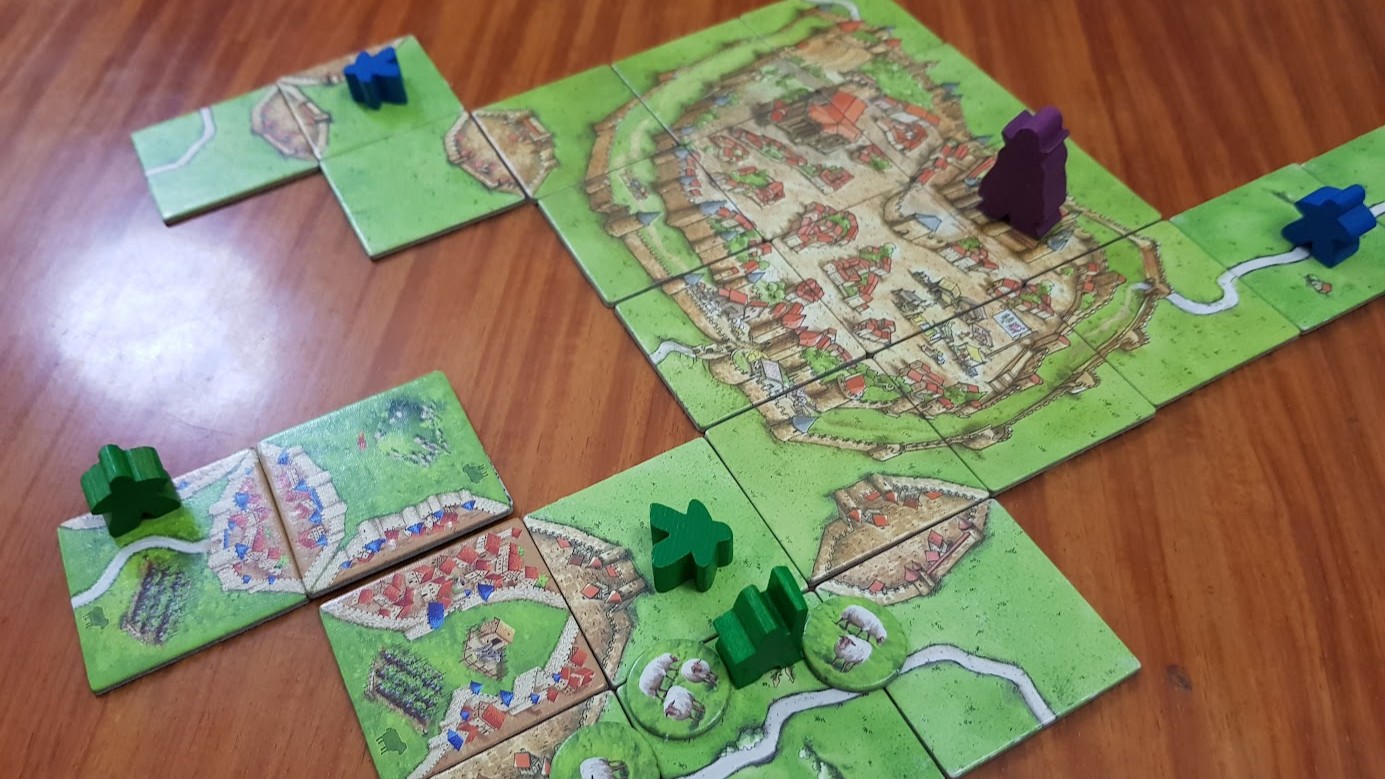
Shepherds (Recommended) - When you expand a Field that has A Shepherd, you can draw a token that can be either a Sheep or a Wolf - Sheep are added to the Field while the Wolf sends all Sheep back to the bag. Or you can Gather your flock and score points equal to the number of Sheep depicted on each token.
Vineyards (Recommended) - A Vineyard placed next to a Cloister adds 3 points when the Cloister is completed, but no points if it remains incomplete by the end of the game. This also supports Shrines and Monasteries.
The Circus (Recommended) - The game now has Circus tiles, and a facedown Animal token is placed on the tile when it’s played. When another Circus tile comes in, scoring is triggered for the previous tile. Points are awarded to players who have Followers on the tile and the 8 tiles around it, multiplied by the Animal token. More points!
Acrobats (Recommended) - When an Acrobat tile is played, you now have the option to use a Follower as an Acrobat instead of placing it on any of the features on the tile. In subsequent turns, any player who places a tile adjacent to that one can also add an Acrobat until there are 3 Acrobats in a pyramid; then it can be scored as 5 points per Acrobat, so multiple players can score. It’s a minor dexterity challenge, as some people will fumble building the pyramid, pausing the game to fix the Acrobats.
Ringmaster (Skippable) - A new Follower unique to the set. He is played as normal to features but scores extra points for every Circus or Acrobat tile adjacent to the feature being scored.
Wheel of Fate (Recommended) - The game begins with a new Wheel of Fate tile in the middle of the board (played before expansions like The River). Now, whenever a player doesn’t add a Follower to the tile they just placed, they can instead put a Follower on any free crown space around the Wheel. When a Wheel of Fate tile is placed, the Pig is moved around the Wheel a number of times based on the number on the tile. The section of the Wheel of Fate is triggered, and the effects range from everyone scoring points based on Followers on features or returning Followers to their supply. Then the players who had Followers on that section of the Wheel also score points. It’s a weird quasi-gambling mechanic, and Followers can get trapped on the Wheel for a while if Pig keeps skipping certain sections.
This one is pretty hard to find now, but I’m throwing it in because it’s one of my favorites.
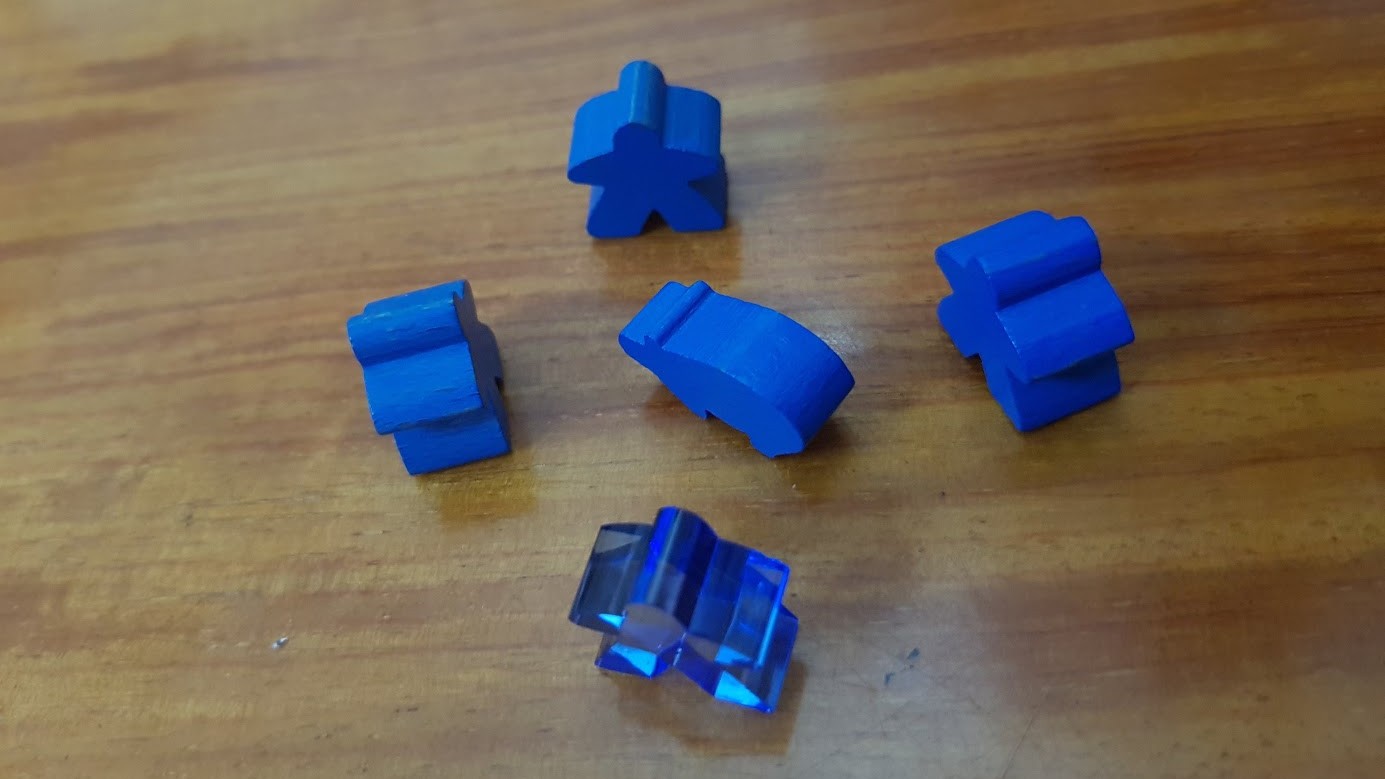
Phantom (Essential) - In addition to this being a very pretty translucent follower, it can be placed as a second follower after you’ve resolved the main one. This allows you to add the Phantom to a second feature on the same tile. This is great for scoring secondary features that happen to complete as you complete the main one, so we use this for scoring a lot of 2-point Roads and 2-tile Cities. It’s just very fun.
This one is also a little tricky to find, unless Z-Man Games bundles it with another collected set, as seems to be their strategy for handling these mini-expansions.
Halflings (Essential) - Players start with 2 of these triangle tiles, and on a turn they can forgo drawing a new tile to place and instead place one of the Halfling tiles. They’re great for filling in weird gaps that are hard to complete, thus allowing you limited options for salvaging features you’ve been working on for a while.
There are even more mini expansions out there, so this list his hardly exhaustive. But it at least covers the main expansions (so far), but I haven’t really gotten access to most of the Z-Man Games versions of these games, so my experience may be more based on older rules.